
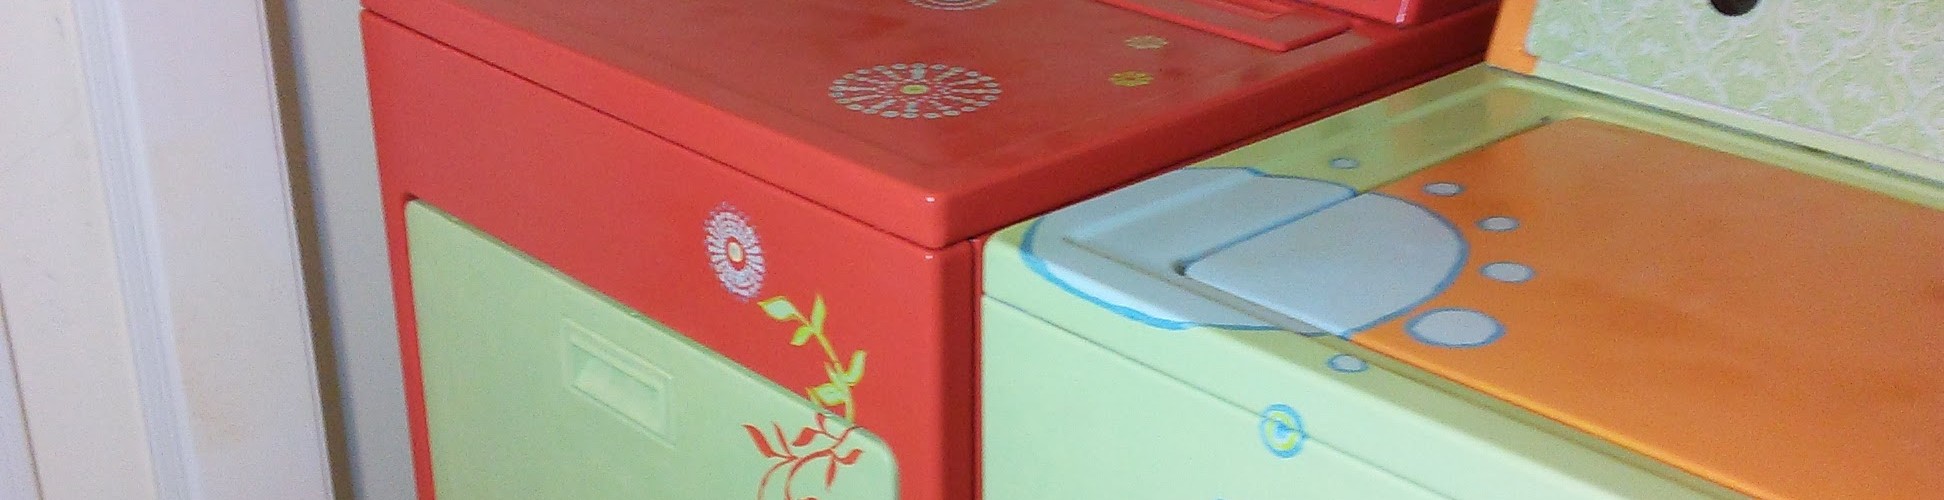
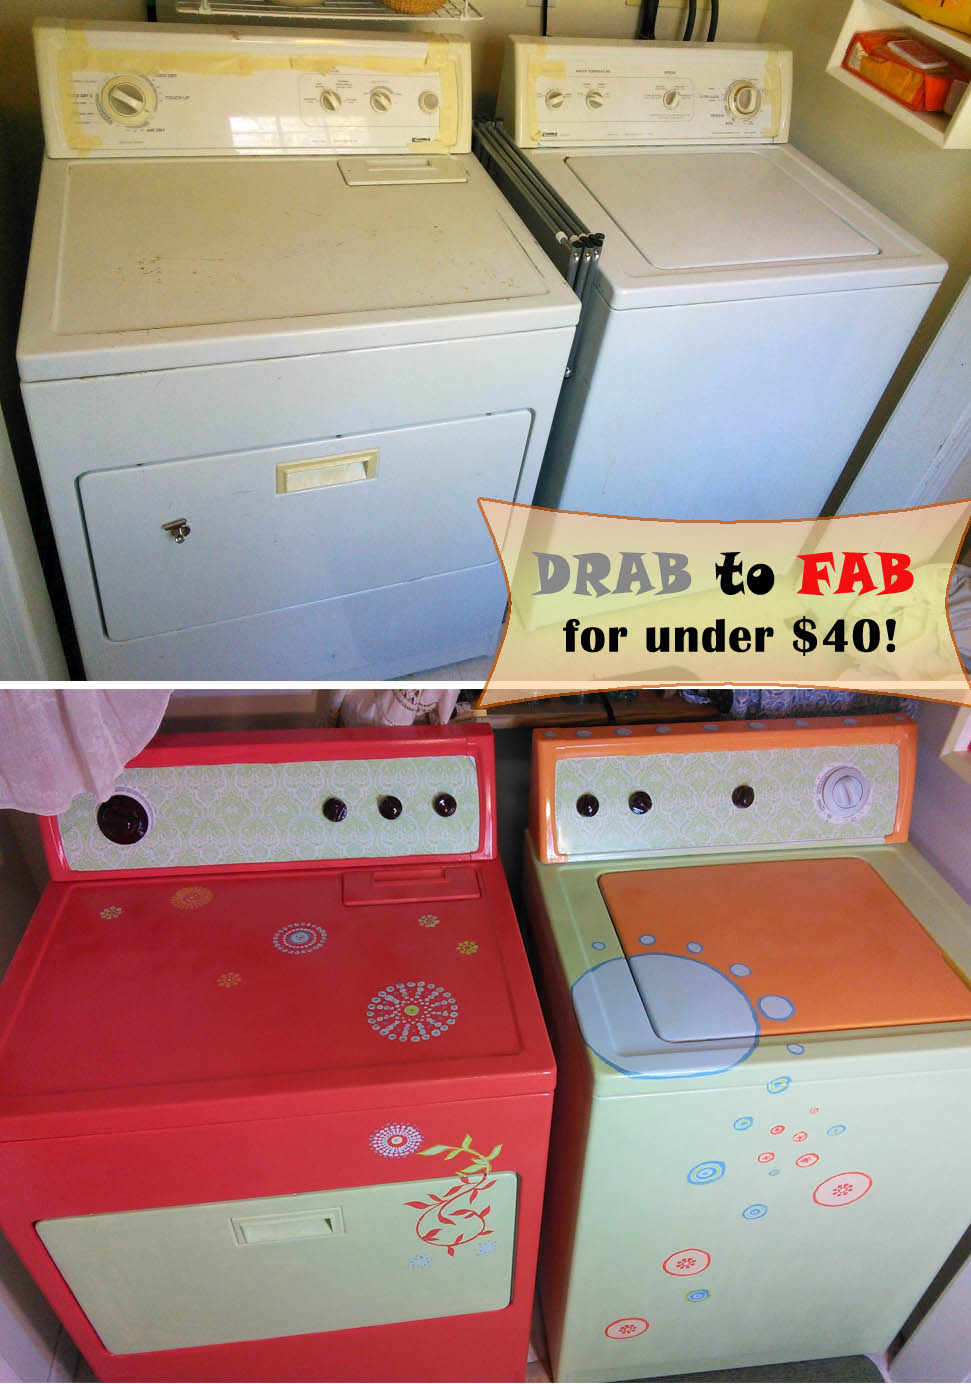
Of every little makeover I have ever done around my house this is my favorite. One day I was looking at my 15 year old washer & dryer and thinking how much i really hated looking at them. Suddenly I had a Pinterest inspired epiphany – paint them! I had bookmarked someone else’s photos a few months before and I had nothing better to do for the weekend so….
|
|
|


Materials Used:
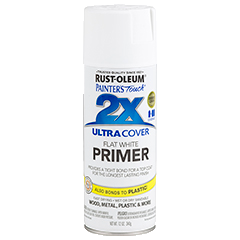
- KILZ primer spray & Rustoleum Ultra Cover 2x Primer Spray

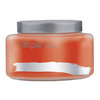
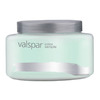
- Various Valspar Interior Paint samples
- Removable contact paper

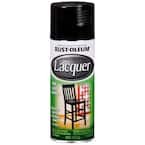
- Clear spray lacquer
- Foam & paint brushes
Here’s What I Did!
 First of all, do not do as I did & paint in an enclosed area, there is a reason EVERYthing I used said not to! Having to leave a door open while it is about 5 degrees out is not so much fun.
I had most of the materials i used on hand, I only had to purchase the spray lacquer & contact paper. I have all kinds of paint samples left from various projects so I figured I would give them a try and see how it went.
I started with the remainder of a can of KILZ primer, when it ran out I started on the rustoleum. The KILZ seemed to go on more evenly but both worked. After it dried I started painting. I used the foam brush & it took several coats before I was satisfied with the results, it may have gone on better with a real brush.
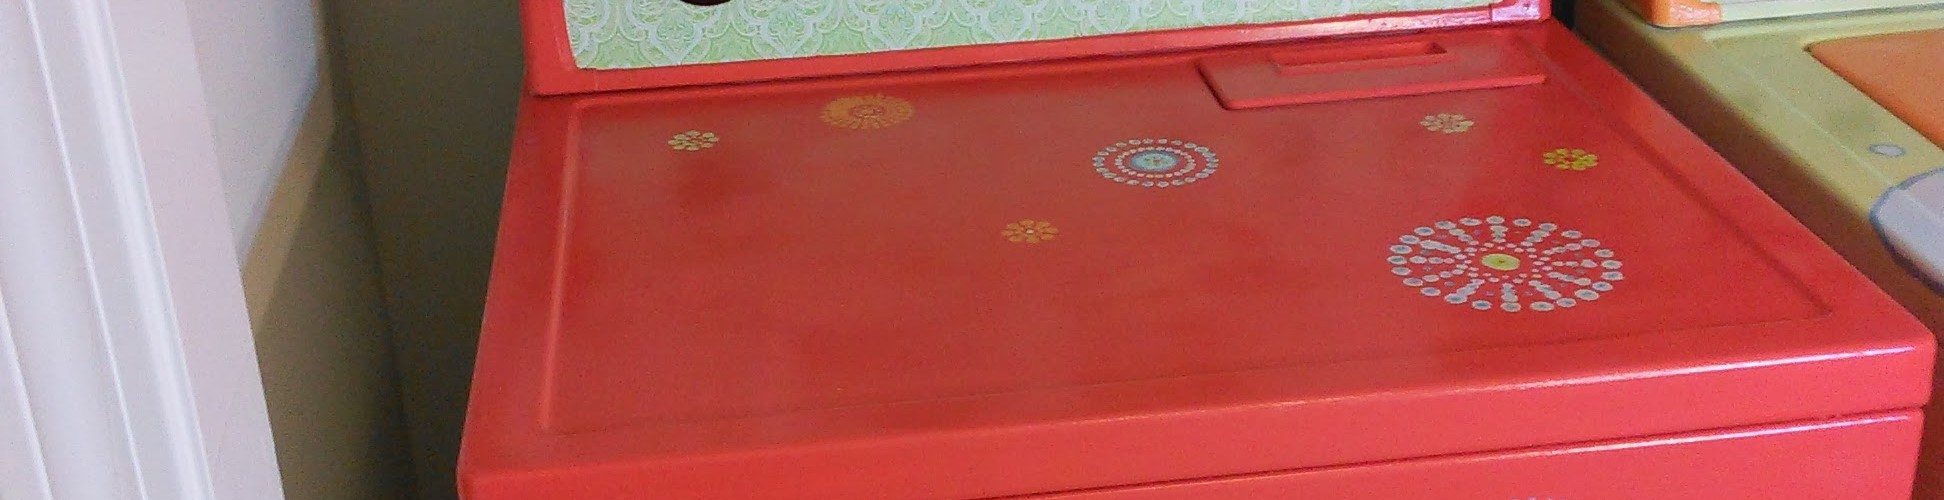
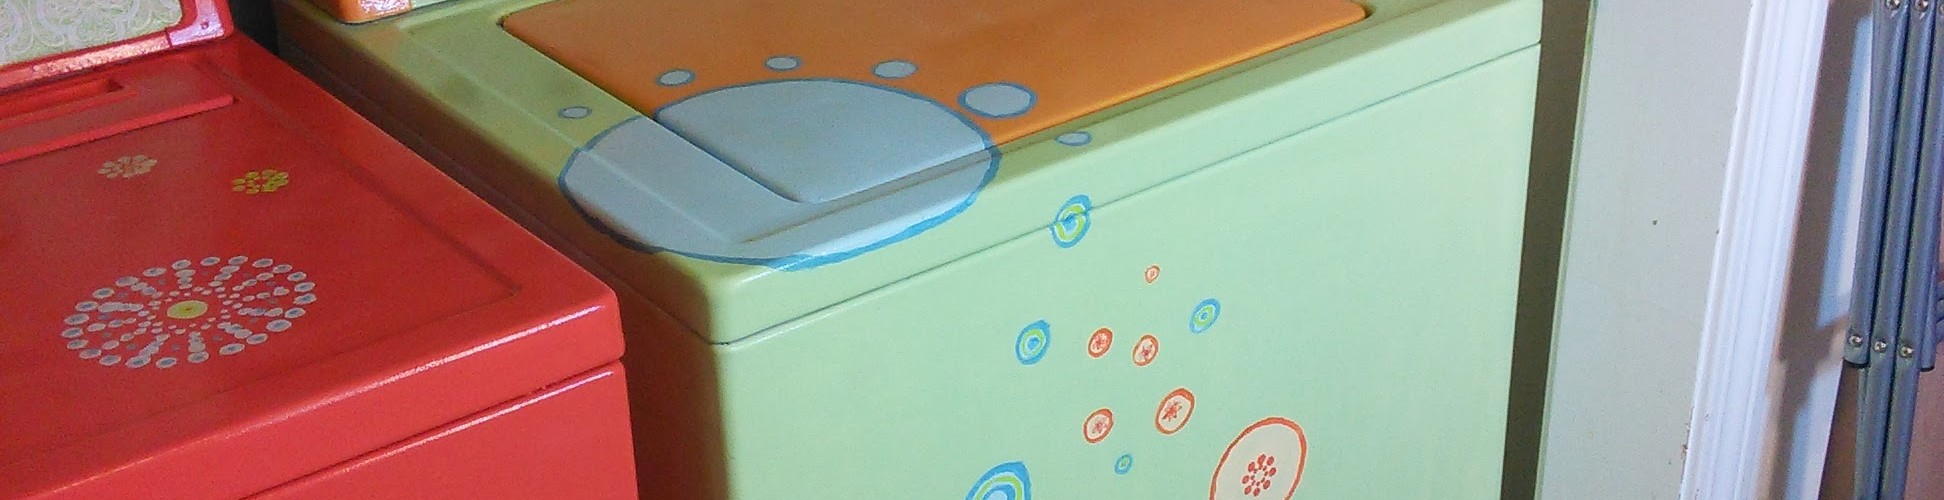
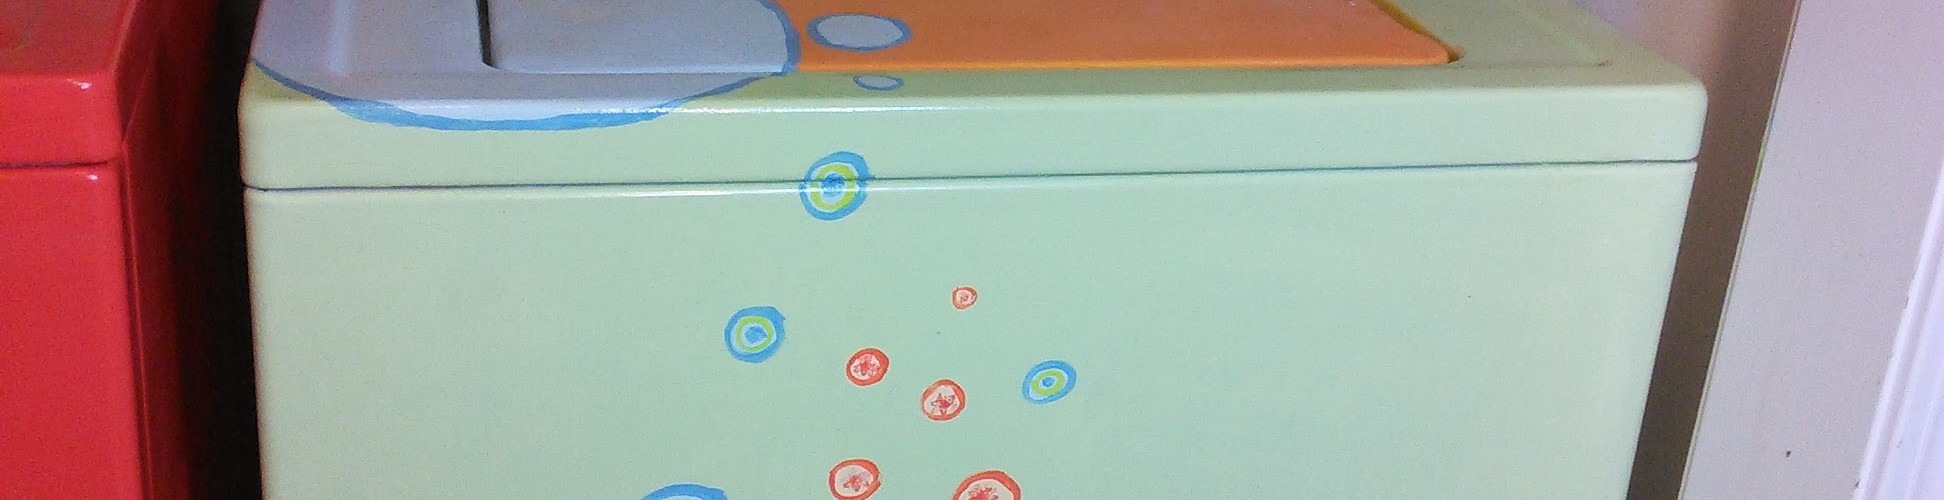
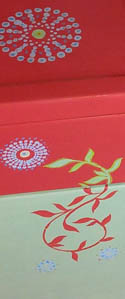
While waiting for them to dry overnight and the odor to dissipate somewhat I dug out a few wall stencils from previous projects and figured I would give them a try. As it turns out I also have oodles of the little acrylic craft paints so I dug them out as well! The stencils were a labor of love and I am so in love with how well they turned out!
Then there were the consoles… all of the knobs except the large washer dial came off so I painted them with some dark brown enamel spray paint (also on hand). I found some perfect removable contact paper at Target for $6.95 (I have LOTS left over). I cut the paper to length & carefully used an exacto knife to cut it to the write oval size. It went on pretty well, took a few retries. I used a marker to mark the “most used” choices but had to use the knife to cut around the large dials. I have no doubt there are cleaner & better ways to do it but it worked for me!
The last step was the smelliest of all, the spray lacquer. I did some research about different options for sealing the paint, which was flat so would have scratched, and
making everything glossy. The spray lacquer seemed the most cost effective & easiest and from what I read from others online it seemed it would adhere well. I did 2 very quick coats and it’s held up wonderfully. Note: Do not spray the contact paper with the lacquer, it will peel!
All told it took me off & on 2 days to finish the job. When i was done putting the washer & dryer back together I figured it was a good time to put up some shelves. I moved my great-grandmother’s wooden wringer in there along with some of her old aprons and it looks fantastic!


